I never had Brussel Sprouts as a kid. I know it’s one of those things that kids are supposed to hate, but it never occurred to my parents to make any vegetable other than canned corn or canned green beans. On really special occasions, my mom would buy a can of asparagus.
In college, other kids experimented with all sorts of things, but one of my most “adventurous” friends introduced me to something that would change my life: Brussel sprouts. I know, not exactly race-y, but I felt like my parents had held out on me. All those years, Brussel sprouts were out there, being delicious, and I never knew it.
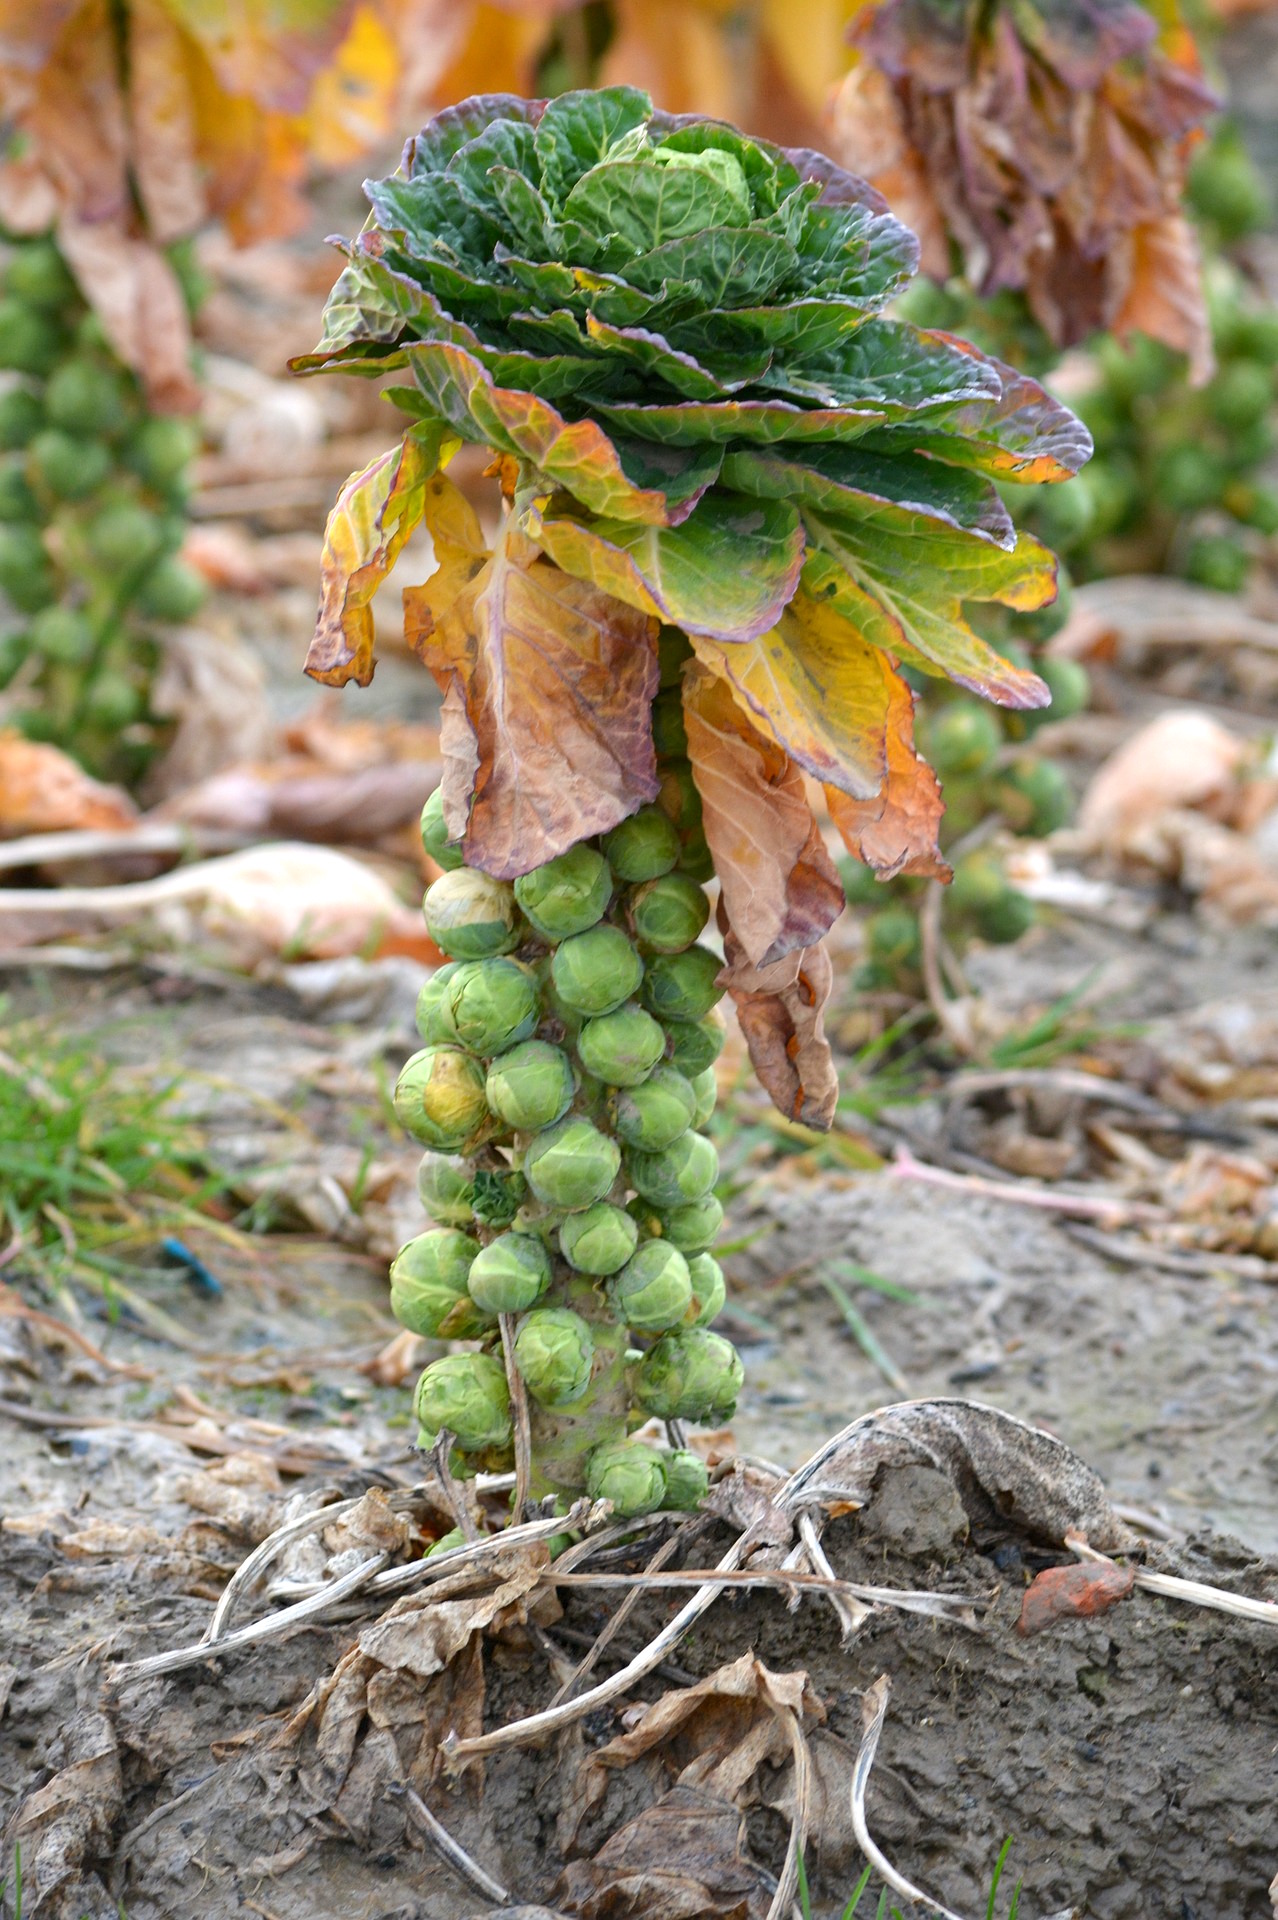
Now, these tiny space cabbages on a stalk find there way into my garden every year.
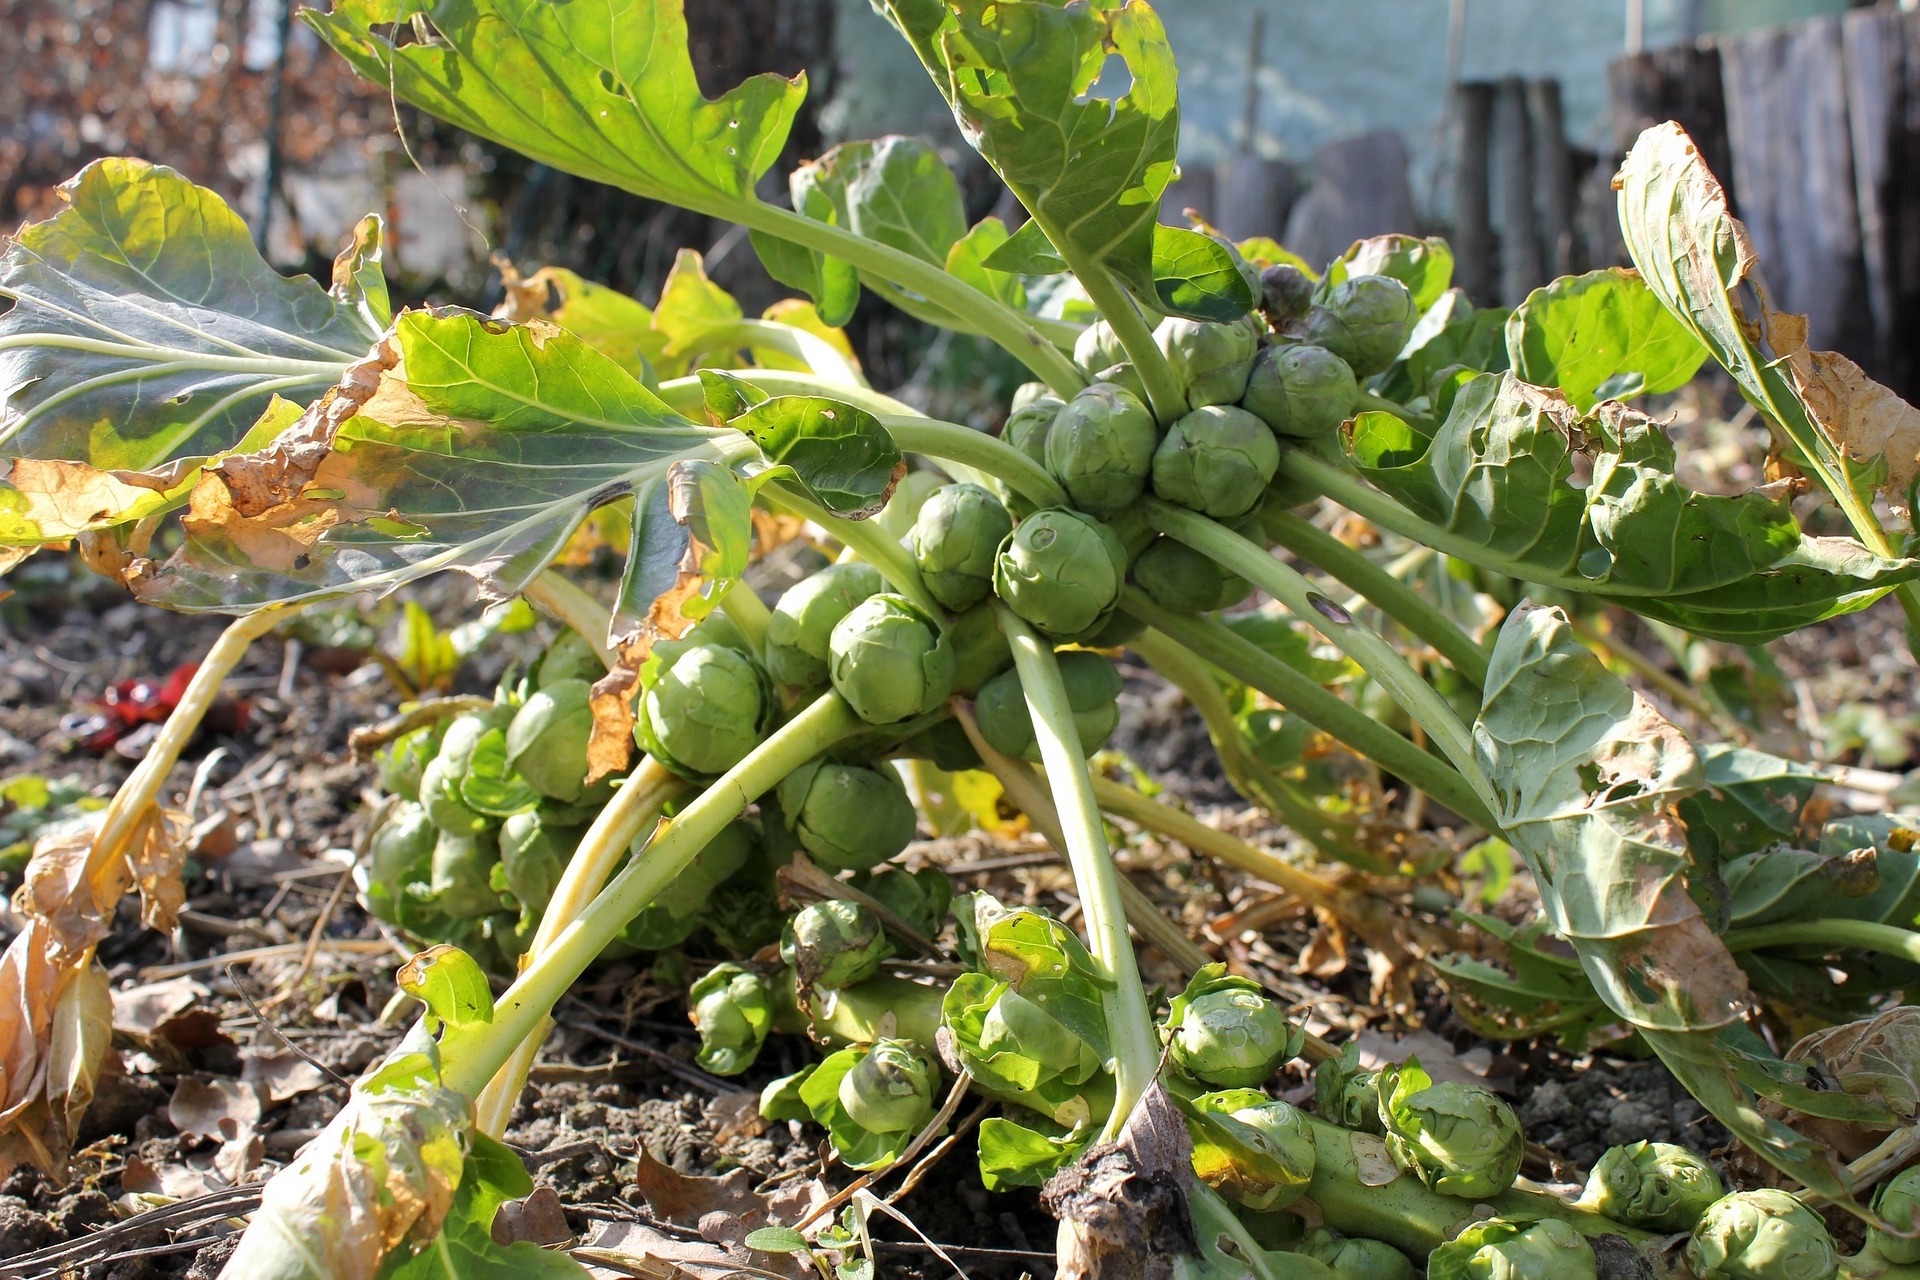
Brussels sprouts are a member of the cabbage and kale family, and they’re just one more variation in terms of flavor and growth habit. Much like kale, the plant produced a single central stalk and thick, cold hearty leaves. At each leaf junction, a tiny cabbage-like head is formed, and that’s the harvestable sprout.
Brussel Sprout Varieties
These days, most brussels sprout varieties are hybrids. It’s hard to find seeds for the old school heirlooms anymore. If you don’t intend to save seed, go ahead and choose an improved hybrid because they’ll be easier to grow and much more dependable. For those seed savers out there, take the time to seek out an heirloom variety.
Thus far, there’s no such thing as a GMO Brussels sprout, so any seed you find will be non-GMO by default.
Heirloom Brussels Sprout Varieties
- Long Island Improved – (90 days) Developed in the late 1800’s, this is still the most commonly grown heirloom variety. They’re known for heavy yields and good flavor. (Seeds available here)
- Catskill – (100 days) Developed in the 1940’s, this open-pollinated variety is hearty and produces extra strong stalks. The sprouts are large, sometimes 2” in diameter, and they’re great for freezing. (Seeds available here)
- Groninger – (105 days) A good choice for beginners, this variety produces a good crop even in variable weather. They’re described as tight headed, with a delicate flavor. Harvest after the first frost for the sweetest sprouts. (Seeds Available Here)
- Red Rubine Brussel Sprouts – (90 days) A bright red heirloom that will add color and variety to your table. They require cool weather to stay sweet, and they can be a bit finicky. (Seeds Available Here)
- Falstaff Brussels Sprouts – (102 days) A more dependable red/purple-colored brussels sprouts variety. The sprouts have blueish purple pigments in their veins and the tips of their leaves. The color intensifies after a frost. Sprouts are smaller than most green varieties. (Seeds Available Here)
Hybrid Brussels Sprout Varieties
- Hestia Hybrid – Marketed as a variety that’s both heat and cold tolerant, this one will produce under most any garden conditions. They also keep well in the field, when most brussels sprouts require immediate picking for best results. We’re growing this variety this year. (Seeds Available Here)
- Octia Hybrid – (78 days) This variety has dark leaves and a tightly packed head. It’s early maturing, and a good choice for areas with short growing seasons.
- Mighty Hybrid – (100 days) A dependable producer of 1-inch sprouts.
- Dimitri Hybrid – (100-110 days) Listed as one of the easiest hybrids to grow, these are also easy to harvest and do not require topping the plant before harvest.
How to Plant Brussel Sprouts
Once you’ve selected a Brussels sprouts variety, it’s time to get planting. In areas with a short growing season, brussels sprouts are planted indoors in potting soil and transplanted outdoors in the spring. While they do taste better when harvested after a frost in the fall, unless they’re started indoors, it’s still hard to bring in a crop in our short 100 day growing season here in Vermont. We start them indoors about 4 to 6 weeks before we intend to plant.
In warmer areas, brussels sprouts are planted in the fall and grown through the winter months before they’re harvested in the early spring. That way, they’re able to grow through the cold months and be harvested before temperatures really heat up. Ideally, they appreciate temperatures around 60 to 65 degrees for best growth.
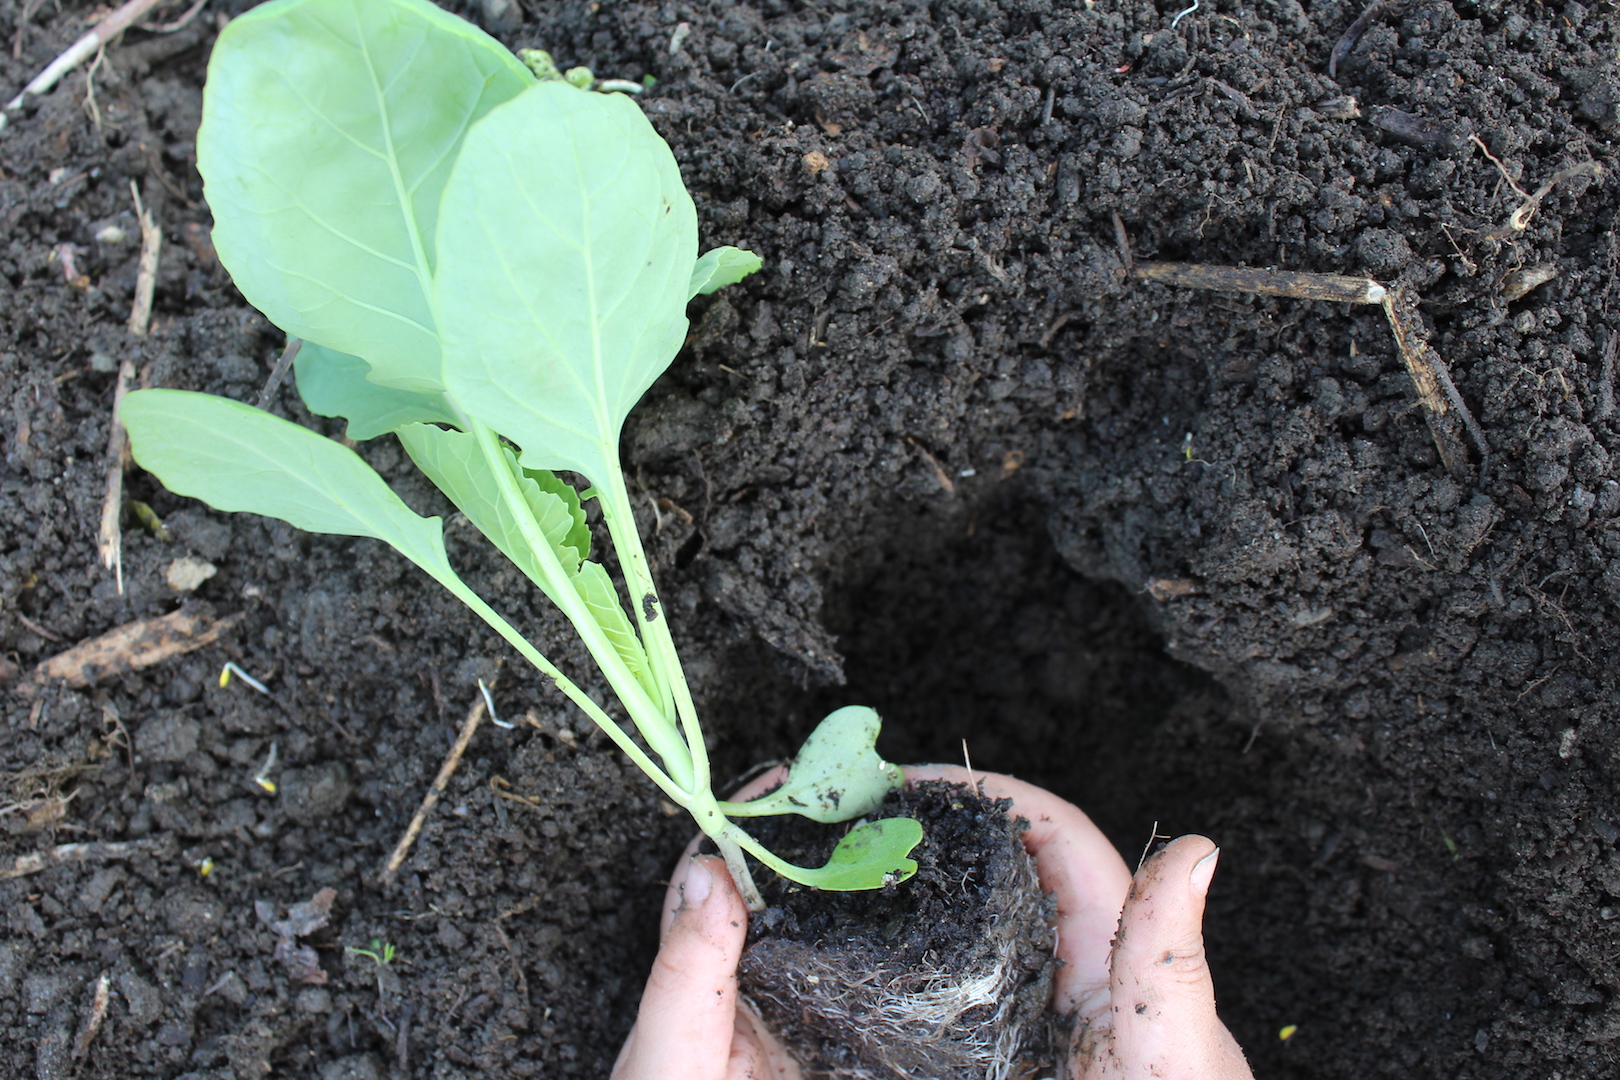
Transplanting a brussels sprout plant into our garden in late May.
Transplanting Brussels Sprout Seedlings
If starting indoors, transplant brussels sprouts into the garden about 2 weeks before your last expected frost date. Be sure to harden off the seedlings outdoors during the day for about a week before planting to reduce transplant shock. Be sure you haven’t started them too far in advance of the planting date because they can be stunted if their roots become pot bound. The roots in the transplant above are just starting to get out of hand, and that one stayed in the pot a little bit too long.
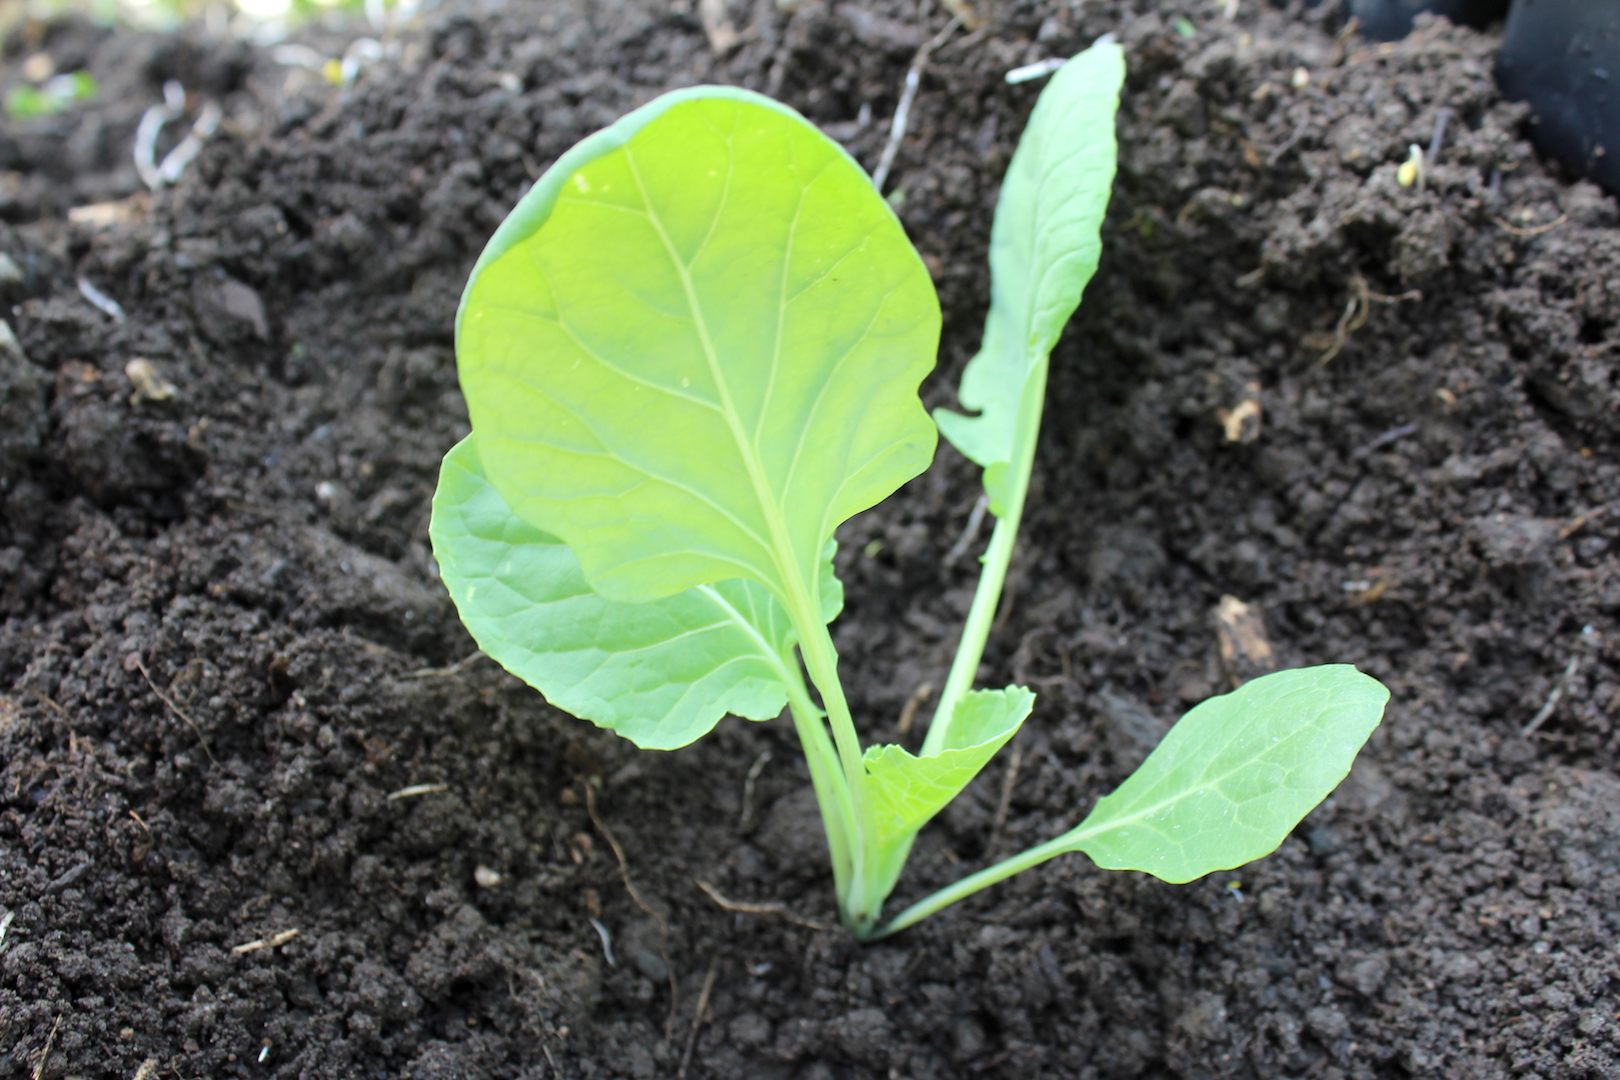
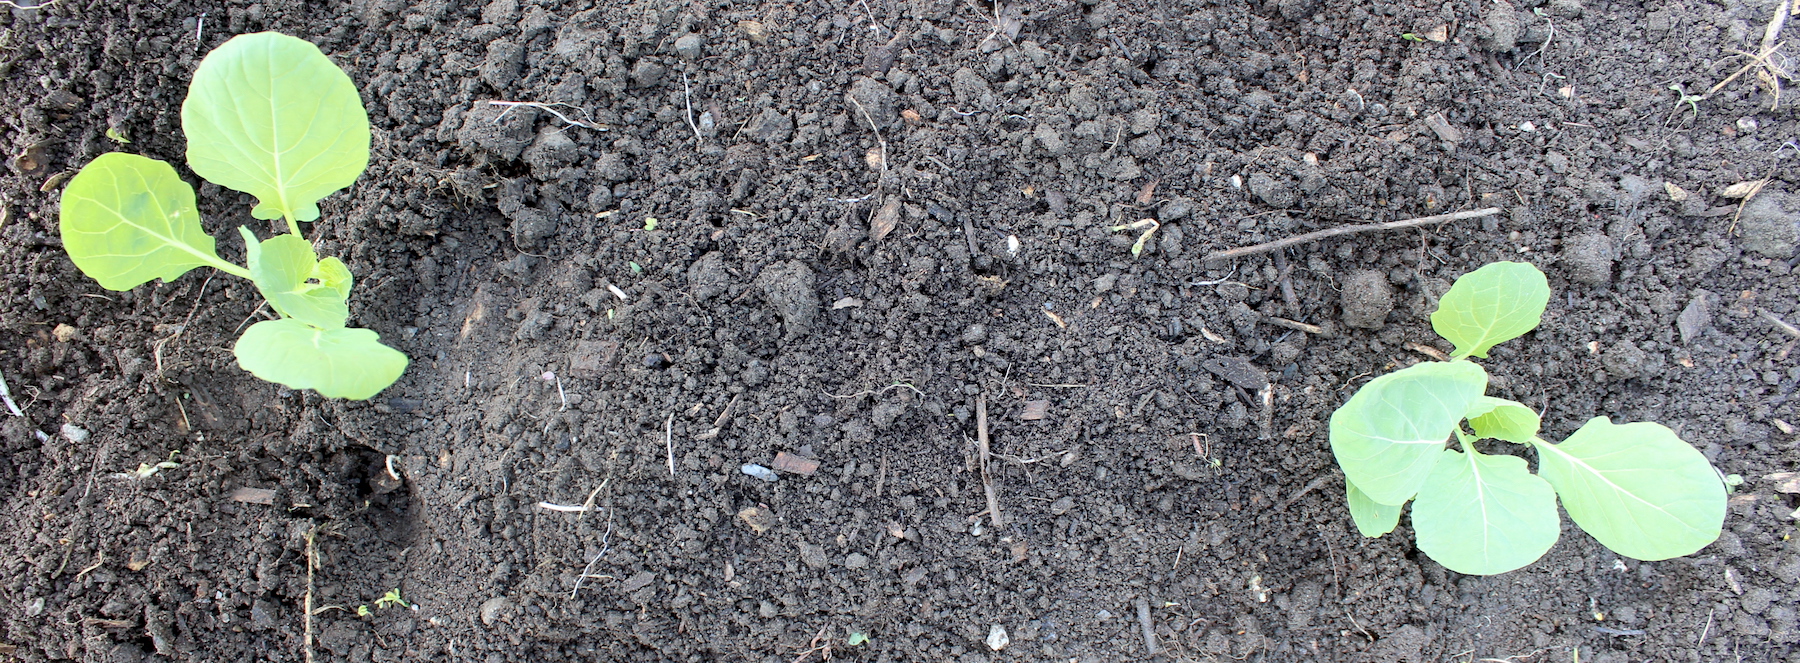
The transplanted brussels sprout seedlings should be patted into the soil, but be careful not to compact it. Loose soil will allow their roots to grow more freely. Plants are spaced about 2 feet apart in rows. The tiny transplants will look a bit sparse in the row at 2-foot spacing, but don’t worry. They may not look large now, but they’ll need all that space by the end of the season.
How to Grow Brussel Sprouts
Once planted, brussels sprouts require well-drained soil and ample water. Unlike tomatoes, brassicas don’t mind having wet leaves, so water them freely to make sure they’re getting enough. The waxy coating on the leaves will help the water shed right off, and prevent fungal diseases that can be a problem with other types of plants.
Brussels sprout plants don’t require excessive amounts of fertility, and if the soil has too much free nitrogen they’ll actually grow weak in the stem from growing too quickly. If you do fertilize, try using modest amounts of well-rotted compost.
Growing Brussel Sprouts in Containers
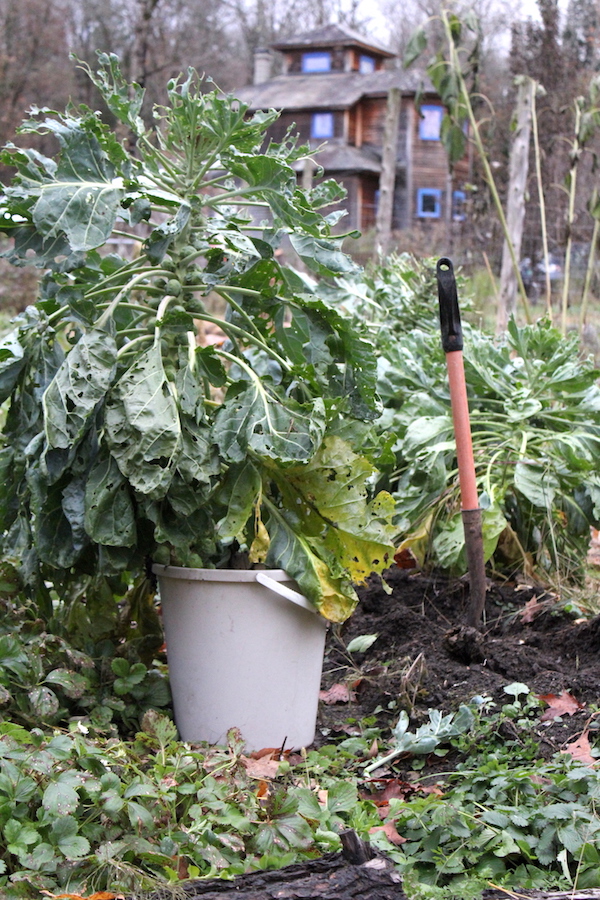
Brussels sprouts can be grown in containers, provided they have enough space. A container needs to be at least 12 inches in diameter, with soil at least 12 inches deep. A large pot from a nursery tree is a good container to use, or a 5-gallon bucket would also work well. Planting brussels sprouts in containers actually allows you to extend the harvest out longer, as the containers can be brought indoors into a root cellar or closet. That’ll allow you to keep harvesting them well into winter, and it’s an old time trick for root cellaring brussels sprouts.
If you started by plating Brussel sprouts in the garden, dig them up roots and all after the first few hard frosts. Pot them up in a bucket and bring them indoors. This will give you several months of season extension as you slowly harvest the last of the ripening Brussel sprouts.
If you’d planted the Brussel sprouts in containers to begin with, they’ll produce indoors through January even in cold climates.
Harvesting Brussel Sprouts
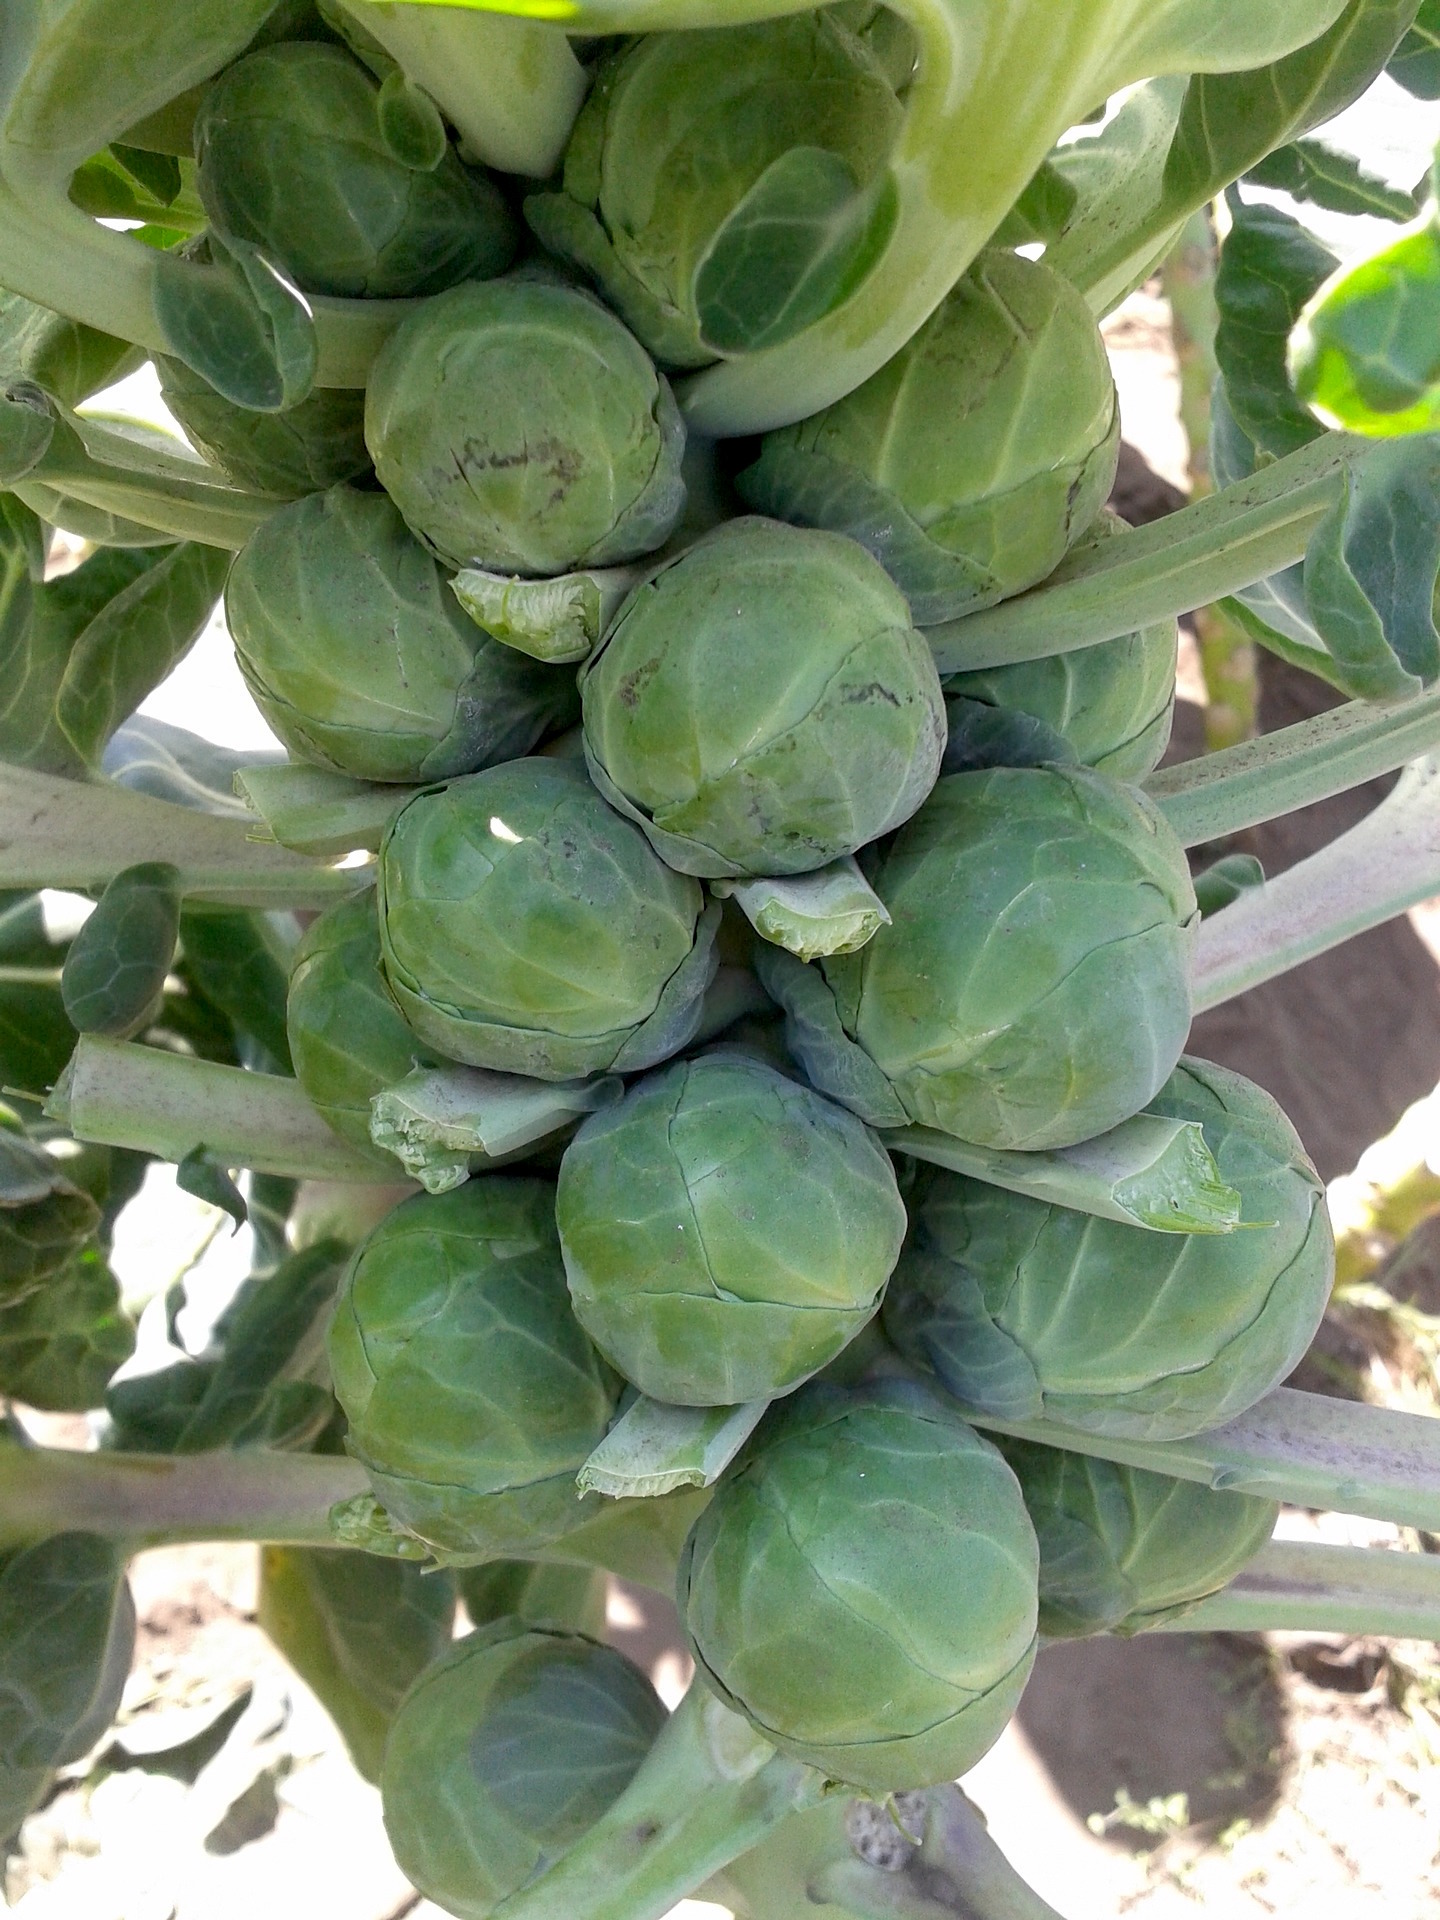
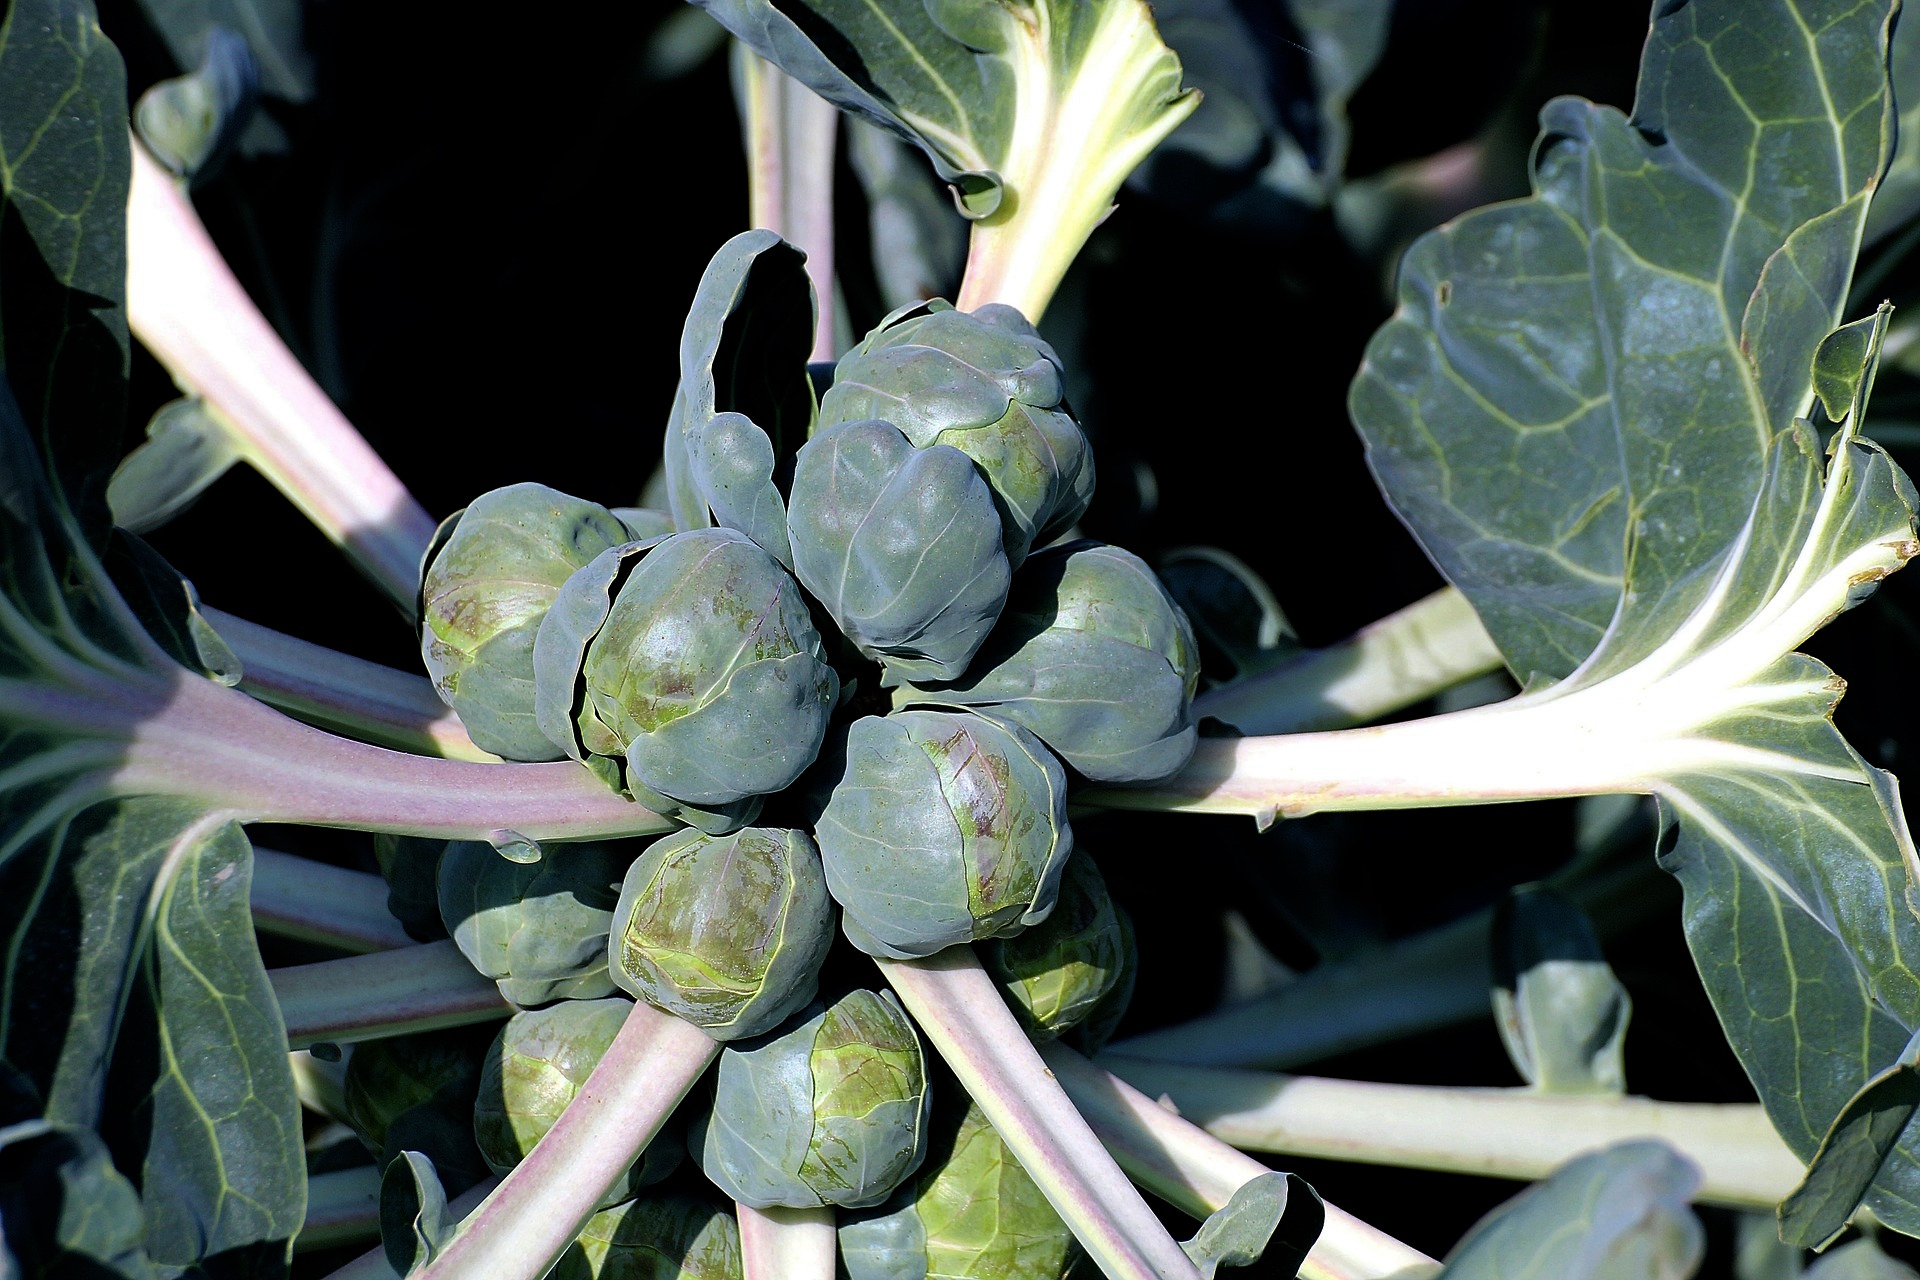
So once the sprouts begin to ripen, how do you harvest brussels sprouts? Each individual sprout grows out of the stalk right about a leaf joint. The sprouts will begin maturing from the bottom of the plant upward, and they can be harvested progressively over the season. Smaller sprouts have a more delicate flavor, and larger brussels sprouts will taste more like cabbage. Once the sprouts get too large, they’ll turn bitter.
It’s a gamble. If you harvest too small, your yield will be low. If you wait too long, you’ll have plenty of volume but be short on taste. Use your best judgment once they’re at least the size of large marbles, you can begin experimenting with your own harvests and choose the size that works best for your families’ needs.
To harvest brussel sprouts, start by removing the leaf below the sprout attachment point. The sprouts can be either cut or pulled. Generally, a single plant will yield about a quart of mature brussels sprouts, but that will vary based on the size of your sprouts and when you choose to harvest.
The brussels sprout leaves can be cooked as greens, much like collard greens. Not only are the greens edible, but removing some of them may help the plant produce more sprouts. Some gardeners “top” their plants at the end of the season, which encourages the plant to put resources into the sprouts instead of more stem and leaf development. Near the end of the season, if your plant is still growing taller and hasn’t made much in the way of sprouts, go ahead and chop it’s head off. That’ll teach it!
If your plants produce early, once the sprouts are harvested, don’t pull out the plants! The brussel sprout plant may begin producing a second crop of sprouts if there’s still enough time left in the season.
Root Cellaring Brussel Sprouts
In the late fall, whole plants can be dug up and replanted in pots. Those pots are then moved to the root cellar, where they can be harvested over the next month. This extends the harvest and will allow you to put brussels sprouts on the table for Thanksgiving and Christmas even in cold areas.
Once harvested, brussels sprouts will keep in the refrigerator or root cellar for 1 to 2 months. I’ve successfully kept them longer, but just like cabbage, you need to keep an eye for mold or mildew starting on the outer leaves. The book Root Cellaring is an excellent resource if you plan on cold storing brussels sprouts or anything else for that matter.
How to Cook Brussels Sprouts
Once the brussels sprout harvest is in, you have a solemn responsibility.
Repeat after me: “I will not boil brussels sprouts. I will not leach every last bit of goodness out of them in a pot of boiling water, leaving them lifeless, slimy and bitter. They deserve better than that.”
Brussels sprouts can be absolutely delicious, but only if they’re cooked correctly. My personal favorite way to cook them is to slice them in half, and then toss them in olive oil and balsamic before roasting them on a baking tray at 400 degrees for about 20 minutes. Perfectly crisp and delicious, with the flavor of balsamic to add intrigue and balance.
I am by no means a food blogger, so I asked a few of my talented food blogger friends for their very best brussels sprouts recipes.
you can now buy Brussel Sprout Seeds – HYBRID
ReplyDeleteonline from Gardener Shopping